
Barbarian Survival Guide: Expert Tips for Dominating the Game
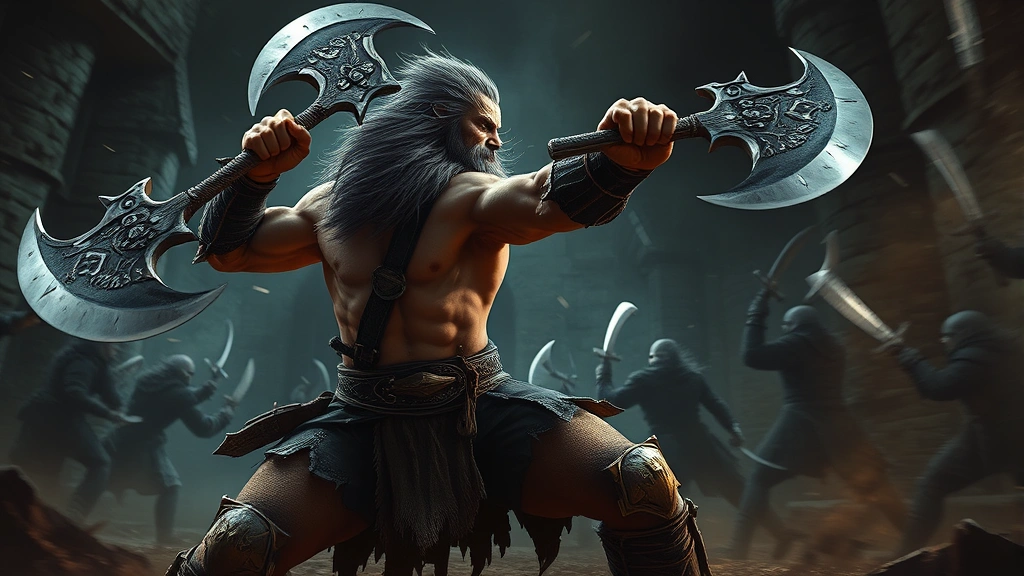
Playing as a barbarian in action RPGs demands a completely different mindset than other character classes. You’re not here to cast spells from the back lines or pick locks with precision—you’re the unstoppable force that charges headfirst into danger, absorbs punishment, and delivers devastating melee attacks that reshape battlefields. Surviving as a barbarian means understanding how to maximize your raw power while mitigating the inherent risks of being a melee-focused warrior in hostile environments.
Whether you’re tackling dungeon crawlers, open-world adventures, or competitive multiplayer scenarios, the barbarian playstyle rewards aggression, positioning awareness, and strategic resource management. This comprehensive guide will walk you through everything you need to know to not just survive, but absolutely dominate as a barbarian character.
Understanding Barbarian Core Mechanics
The foundation of barbarian survival begins with comprehending your class’s fundamental mechanics. Unlike other classes, barbarians operate on a resource economy built around generating and spending rage or fury points. Every action you take—whether dealing damage, taking hits, or activating abilities—contributes to your rage meter, which unlocks your most powerful abilities and passive bonuses.
Your health pool is typically larger than other melee classes, but this doesn’t mean you’re invincible. The barbarian’s strength lies in converting offense into defense through aggressive gameplay. When you’re dealing damage consistently, you generate the resources needed to activate defensive cooldowns and life-steal abilities that keep you in the fight. This creates a playstyle where standing still or being passive actually makes you more vulnerable, not safer.
Critical strike chance and weapon damage scaling are your primary stat priorities. Unlike tanks who stack armor and block chance, barbarians benefit from offensive stats that accelerate rage generation and increase damage output. Many barbarian builds leverage life-steal mechanics—converting a percentage of damage dealt into health recovery—which means your offense literally becomes your defense.
Understanding crowd control immunity windows is absolutely crucial. Most barbarians gain temporary immunity to crowd control effects when activating their ultimate ability or specific skills. Learning to time these windows means the difference between controlling encounters and getting chain-stunned into oblivion. Always know which abilities grant these protective frames and practice using them reactively when you notice enemy abilities about to lock you down.
Mastering Rage Management and Ability Rotation
Rage management separates novice barbarians from experienced survivors. Your rage meter is precious real estate—wasting it on sub-optimal ability usage leaves you vulnerable when you need emergency defensive cooldowns. Develop a core rotation that prioritizes efficiency: identify your highest damage-per-rage-spent abilities and build your rotation around spamming these skills while weaving in utility abilities.
Most effective barbarian rotations follow this pattern: use your primary damage ability repeatedly until rage reaches 75-80% capacity, then activate your most powerful rage-consuming skill. This prevents rage waste from overcapping while ensuring you always have enough resources for emergency defenses. Some builds benefit from maintaining specific rage thresholds that trigger passive bonuses—mastering these thresholds dramatically increases your survivability and damage output.
The key to surviving difficult content is never letting your rage sit at zero. An empty rage meter means you can’t activate life-steal abilities, defensive cooldowns, or crowd control immunity frames. Always be attacking, even if you’re attacking the smallest enemy on the field. Maintaining constant rage generation should be your default state—think of it as your primary survival mechanism rather than just a damage resource.
Ability sequencing matters significantly in structured encounters. Against bosses, you’ll want to save your most powerful abilities for when the boss reaches specific health thresholds or begins dangerous attack patterns. Learning enemy telegraphs and syncing your ability usage with enemy behavior patterns transforms you from a button-mashing warrior into a tactical survivor who controls the pace of battle.
Check out multiplayer games where barbarian classes shine to practice these mechanics against real opponents who demand precise ability usage.
Optimal Gear and Equipment Progression
Your equipment directly determines your survival capacity and damage potential. Barbarians benefit from a specific itemization philosophy: prioritize weapons with high base damage and critical strike chance, then layer defensive stats through armor and accessory choices. Unlike glass cannon builds, barbarians can afford to split stat allocation between offense and defense because your abilities generate survivability through damage output.
Two-handed weapons typically provide superior damage scaling compared to dual-wielding, but dual-wielding offers faster attack speed and more frequent rage generation. The choice depends on your build’s focus—if you’re playing a life-steal heavy build, faster attack speed from dual-wielding generates healing more frequently. If you’re building around massive spike damage, two-handed weapons deliver the raw power needed for one-shot potential.
Armor selection should prioritize resistance to the damage types you face most frequently. Stacking generic armor is valuable, but understanding enemy damage sources lets you allocate defenses more efficiently. Fighting fire-based enemies? Prioritize fire resistance. Facing physical attackers? Invest in armor. This targeted approach to defensive itemization stretches your defensive resources further than generic stacking.
Accessory slots are your opportunity to fine-tune your build’s weaknesses. If your rotation leaves you vulnerable to crowd control, equip items that provide crowd control resistance. If you struggle maintaining rage, grab items that increase rage generation. Barbarians have enough offensive power from base mechanics—your gear should address specific survival gaps in your playstyle.
Life-steal and on-hit effects are absolutely phenomenal for barbarian survival. Items that grant percentage-based life-steal convert your damage into healing automatically. Combined with your high attack speed and damage output, these items can sustain you through encounters that would eliminate other classes. Prioritize these effects heavily in your itemization strategy.
Combat Positioning and Spacing Techniques
Melee positioning is where barbarian survival transcends mechanical knowledge and enters tactical territory. Your goal is maintaining optimal distance where you can deal damage while minimizing incoming damage. This means understanding enemy attack ranges, movement patterns, and ability telegraphs.
Positioning yourself at the edge of enemy attack ranges lets you deal damage while forcing enemies to chase you, breaking their formations and creating openings for your team. This hit-and-run positioning is especially effective against groups—instead of standing in the middle of enemies, circle around them, striking from angles where fewer enemies can retaliate.
Use terrain to your advantage aggressively. Barbarians excel at controlling space through their presence and damage output. Position yourself between enemies and your vulnerable teammates, forcing enemies to deal with you first. This “tank by threat” approach works because you generate enough damage that enemies prioritize you naturally.
Recognize when to disengage. Even the mightiest barbarian needs breathing room occasionally. If you’re surrounded by enemies you can’t damage effectively, don’t panic—use your mobility abilities to reposition. Most barbarians have gap-closers or movement abilities that let you escape bad positioning. Knowing when to back off and reposition separates survivors from corpses.
Practice kiting against ranged enemies—moving while attacking them forces them to chase you, potentially putting them in range of your melee attacks or your allies’ abilities. Many barbarians underestimate kiting’s value, but mastering this technique lets you handle ranged threats that would otherwise shred you from distance.
Defensive Strategies and Damage Mitigation
Barbarian defense isn’t about passive damage reduction—it’s about active mitigation through ability usage and intelligent positioning. Your primary defensive tools are crowd control immunity frames, temporary damage reduction cooldowns, and life-steal mechanics that convert your offense into survival.
Ability cooldown management is critical for survival. Never use your defensive cooldowns offensively unless you’re confident the encounter is under control. These abilities are your emergency buttons—using them to maximize damage output when they’re not needed leaves you vulnerable when enemies unleash their most dangerous attacks.
Stacking damage reduction effects multiplicatively extends your effective health pool significantly. If you have 20% reduction from armor and activate an ability granting 30% reduction, you’re not getting 50% reduction—you’re getting 44% reduction (taking 80% damage, then 70% of that). Understanding this multiplicative stacking helps you optimize your defensive ability usage and itemization choices.
Learn to recognize enemy attack patterns and pre-emptively activate defensive cooldowns. The best defense is preventing damage before it happens. If you know a boss attack deals massive damage, activate your damage reduction ability before the attack lands. This proactive defense is far superior to reactive healing.
Build redundancy into your survival tools. Don’t rely entirely on one defensive cooldown—if that ability gets interrupted or fails, you need backup options. Diversify your defensive resources across multiple abilities, passive effects, and itemization choices. This redundancy ensures you always have survival tools available even when primary options are unavailable.
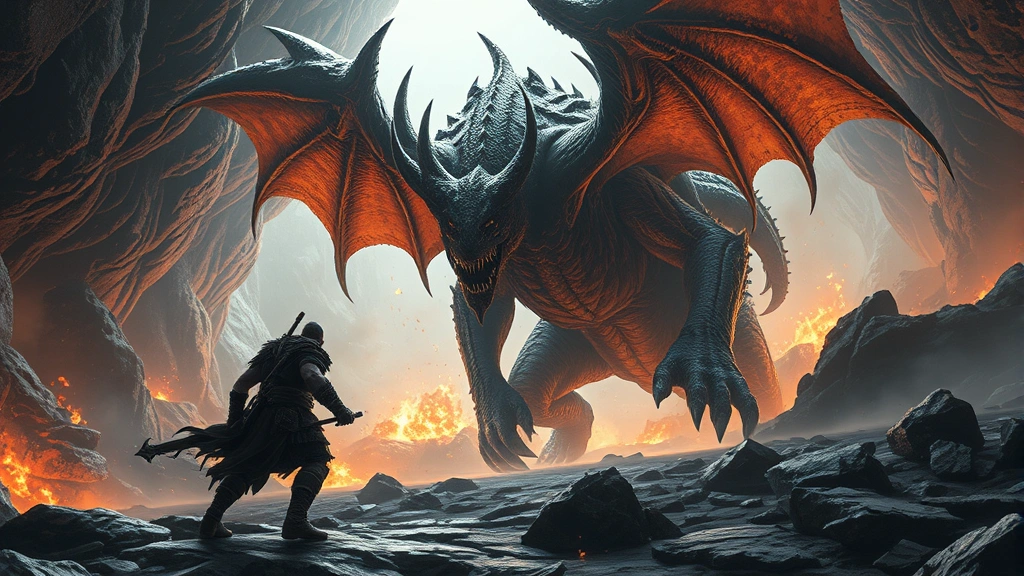
Advanced Tactics for Boss Encounters
Boss fights demand fundamentally different approaches than trash encounters. Bosses have significantly more health, complex attack patterns, and mechanics designed to punish predictable play. Surviving boss encounters requires studying their behavior, identifying safe windows, and executing your rotation with precision.
Phase transitions are your friend. Most bosses change their attack patterns at specific health thresholds. Use these transitions to reset your positioning, refresh cooldowns, and prepare for new attack patterns. Many experienced barbarians intentionally slow their damage output to control boss phases—killing a boss too quickly before you understand all its mechanics leads to surprises that kill you.
Safe windows are specific moments when bosses finish their attacks and have brief recovery periods before their next ability. Identify these windows, memorize them, and maximize your damage during these moments. Attacking during unsafe windows when bosses are actively attacking often results in interrupts or crowd control that breaks your rotation.
Learn to predict boss attacks through visual and audio telegraphs. Most games provide clear indicators before bosses unleash dangerous abilities. Watching these telegraphs lets you preemptively activate defensive cooldowns, move to safer positioning, or interrupt the ability before it completes. This predictive gameplay is what separates survivors from players who face-tank everything and hope for the best.
Respect boss mechanics that specifically counter barbarian gameplay. Some bosses gain damage reduction against melee attacks or apply debuffs that punish aggressive play. Identify these mechanics early and adjust your strategy—sometimes the optimal play is kiting and waiting for opportunities rather than constant aggression.
Multiplayer and Group Dynamics
Playing barbarian in group content introduces additional survival considerations. You’re often expected to be the group’s primary damage dealer and secondary tank—a role that demands balancing offensive contribution with team survival responsibility.
Positioning yourself between enemies and your teammates protects them from damage while ensuring you’re always in range to deal damage. This positioning naturally makes you the primary target, which is exactly what you want—your survivability is superior to other classes, so having enemies focus you means your teammates take less damage.
Communication with your team dramatically improves survival rates. Let teammates know when your defensive cooldowns are active so they can position more aggressively. Warn them when you’re about to use crowd control abilities so they can capitalize on the opportunity. Coordinated gameplay multiplies your effectiveness far beyond what individual skill can achieve.
Understand your role within the group composition. Are you the main damage dealer? Focus on maximizing damage output while maintaining reasonable positioning. Are you the secondary tank? Prioritize survival and crowd control to protect fragile teammates. Adapting your playstyle to fill group needs makes you invaluable to any team.
Learn to read your group’s health bars and positioning. If a teammate is low health and surrounded by enemies, sometimes the optimal play is charging to their location to break enemy focus and create space for them to heal. This team-focused gameplay converts you from a selfish damage dealer into a force multiplier that elevates your entire group’s effectiveness.
For more on games featuring strong barbarian mechanics, check our comprehensive indie game guide that highlights titles with exceptional melee combat systems.
FAQ
What’s the best barbarian build for beginners?
Start with a straightforward damage-focused build that emphasizes weapon damage and critical strike chance. Avoid complex mechanics requiring perfect timing until you understand core barbarian gameplay. Once comfortable with basic rotation and positioning, gradually incorporate more advanced mechanics like conditional damage bonuses and intricate ability sequencing.
How do I generate rage quickly early in fights?
Use your fastest-attacking weapon available and prioritize abilities with low rage costs that generate rage on hit. Many barbarians benefit from attack speed bonuses that increase rage generation frequency. If your build allows, equip items providing rage generation bonuses to accelerate your early-fight ramp-up time.
When should I use my ultimate ability?
Ultimate abilities typically provide massive damage output or powerful defensive effects. Use damage-focused ultimates when you’re confident you can finish or significantly damage enemies without interruption. Save defensive ultimates for emergency situations when you need crowd control immunity or damage reduction to survive incoming burst damage.
How do I survive if I’m surrounded by enemies?
Activate your crowd control immunity ability immediately, then use movement abilities to reposition away from the enemy group. Once you have space, use your highest damage abilities to eliminate threats quickly. Never panic—barbarians have tools to escape bad situations, but you need to use them proactively rather than reactively.
What stats should I prioritize on gear?
Weapon damage and critical strike chance are your primary damage stats. Secondary priorities depend on your build—life-steal builds need percentage-based life-steal, cooldown-dependent builds need cooldown reduction, and positioning-heavy builds benefit from movement speed. Defensive stats should address specific weaknesses rather than generic stacking.
How do I deal with crowd control effects?
Most barbarians have abilities granting temporary crowd control immunity. Learn which abilities provide these frames and use them when you predict crowd control incoming. If caught without immunity, immediately activate your emergency defensive cooldowns to survive the disabled period. Always prioritize crowd control resistance through items if crowd control is a persistent problem.
Can barbarians tank for their team?
Barbarians can function as secondary tanks through positioning and threat management, but they’re not primary tanks. You survive through damage output and life-steal rather than passive damage reduction. If your group needs a primary tank, consider different classes designed specifically for that role. Barbarians excel as damage dealers who can absorb punishment through aggressive play.